

Ready to Embark on an Exciting Journey with WIN?
Take the first step toward personal and financial freedom by filling out the interest form. One of our franchise advocates will be in touch with you soon!

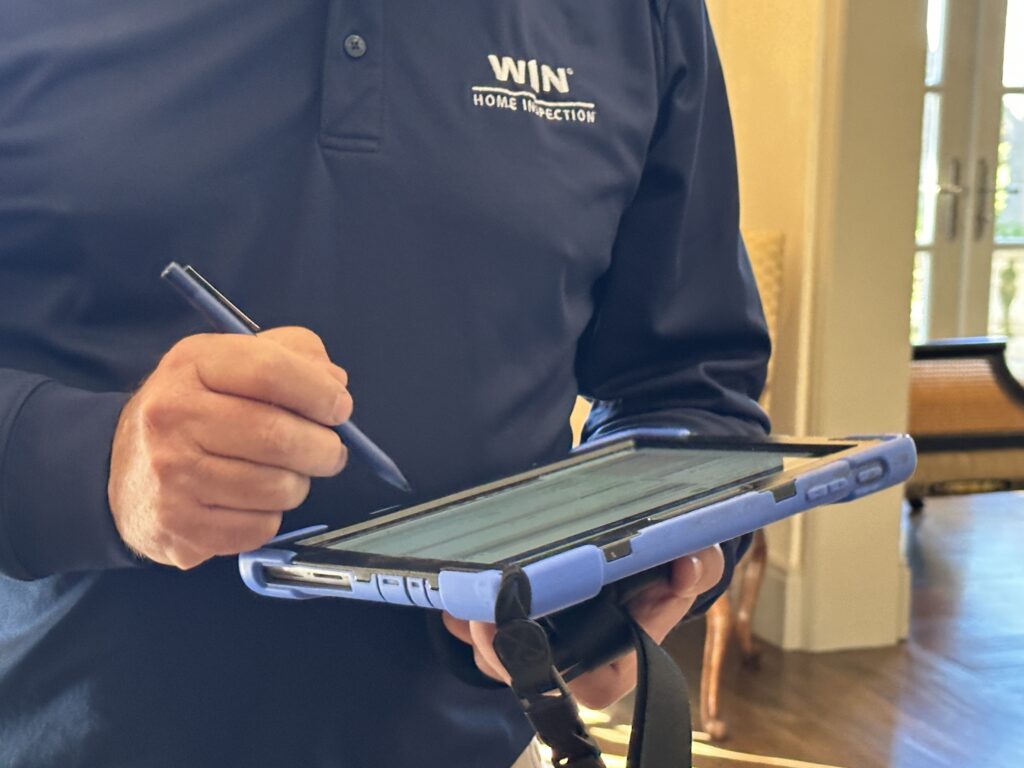
We’ve all been there. You’re halfway through an inspection. Your phone is buzzing. It’s the agent, and they’re telling you about the offer deadline. At the same time, the buyer is asking about the age of the roof. Meanwhile, you are trying to remember whether you tested the exterior receptacles. That’s why you need a checklist.
With a good checklist, you ensure that you do the same high-quality work consistently. Also, your checklist can help you document what you did inspect, what you could not, and what the next step should be.
Below is a complete guide to creating a solid checklist that you can follow on-site. Plus, we’ll discuss the documentation practices that keep your reports clean and defensible.
So, why do you need a checklist? There are three main reasons a checklist matters:
First, checklists keep you consistent across different homes. A 1950s ranch, a brand-new townhouse, and a 100-year-old farmhouse do not behave the same way, but your process should.
Second, it reduces the risk of missing a minor issue that could lead to a major callback. Not every missed item leads to problems, but they all will cost you time — and may cause your clients to lose trust in your work.
Third, a good checklist can help make your report clearer. Remember, the inspection itself is not what the client is really paying for. The inspection report is the real product of your work. It’s what lives on after you leave, and it is what the client will use, either in purchase negotiations or for setting their budget.
Remember, the goal of a checklist is not to turn your inspection into a script that you follow. Still, it helps to establish a rhythm you can repeat at every inspection. And that means starting the job with a standard workflow.
During an inspection, “safety first” means ensuring there are no hazards around you and that you have easy access to everything you need. So, first things first, stop and check for:
If something seems unsafe or inaccessible, don’t try to push through it. Document it instead.
Pick an order you can repeat even when you are interrupted. The house can change, but your order should not.
Most inspectors use some version of: exterior, roof, interior, structure spaces, then systems.
When documenting, write it down as you notice it. If you wait until the end, you will surely forget some important details.
Here is an example limitation note that you should document right away:
“Crawlspace not inspected due to standing water and limited clearance at entry. Recommend evaluation once conditions allow safe access.”
A close-up of corrosion is helpful. A close-up and a wider shot showing the location make your report easier to understand.
You can save yourself a lot of friction by doing three things before you start “the inspection inspection.”
If you follow a specific standard of practice (SOP), ensure you reference it in both your service agreement and inspection report.
For clarity’s sake, include some language explaining these two things:
What you inspect, which is typically the readily accessible systems and components
What you do not inspect, such as concealed conditions, and areas not safely accessible
Next, ensure the property is ready for inspection and that you have access to the areas you need to perform your work. Here are some things to confirm:
Home inspectors typically don’t carry a lot of tools, but you will need these things:
These tools are optional but regularly come in handy:
Here is the checklist to follow, broken down by system:
Your exterior pass sets the tone. It also helps you predict what you will find inside.
Checklist items:
1. Site drainage and grading near the foundation:
2. Foundation and visible structure
3. Exterior cladding and penetrations
4. Windows and doors
5. Decks, steps, railings
6. Garage exterior and approach
A small habit that pays off: When you see a deck or stair issue that is a fall risk, take a wide photo that shows the height. It helps the client understand why you flagged it.
You can do a great roof inspection without walking every roof. You just need to document your method, limitations, and observations.
Checklist items:
1. Method and safety decision
2. Covering condition
3. Flashing and penetrations
4. Gutters and downspouts
5. Visible signs of leakage or structural issues
If you cannot access the roof safely, say it clearly. Standards of practice generally encourage you to document limitations while clarifying that the inspection is not exhaustive.
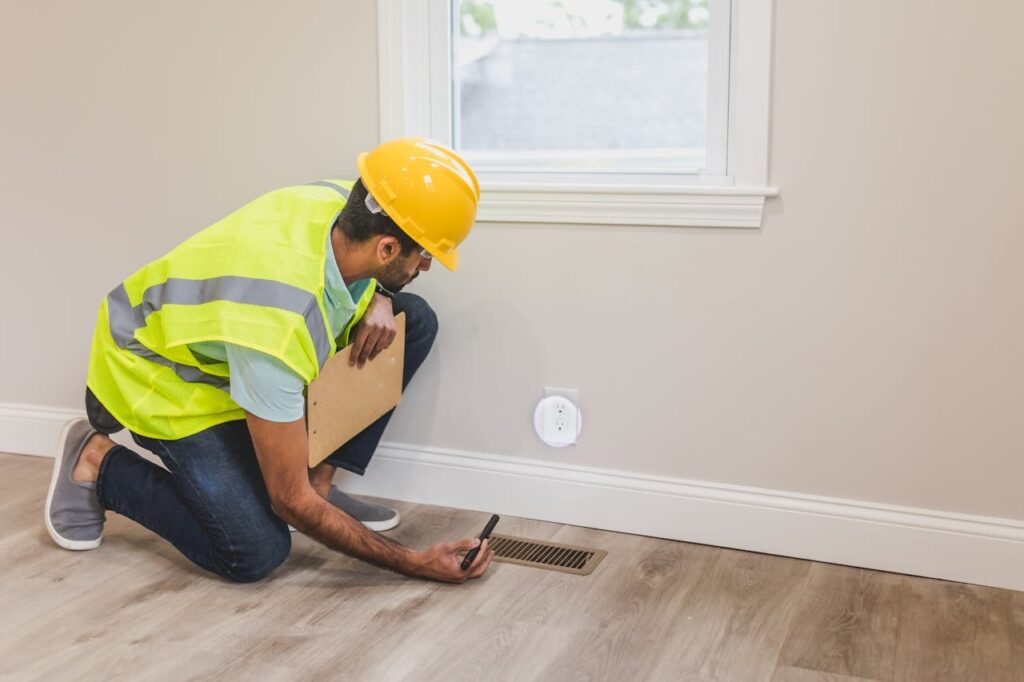
Inside is where clients pay the most attention, so your checklist helps you stay systematic while everyone watches.
Checklist items:
1. Walls, ceilings, floors
2. Kitchens
3. Bathrooms
4. Bedrooms and general living spaces
A practical note: You are usually reporting the presence or absence of alarms, not certifying code compliance. Use wording that matches your standards and local requirements.
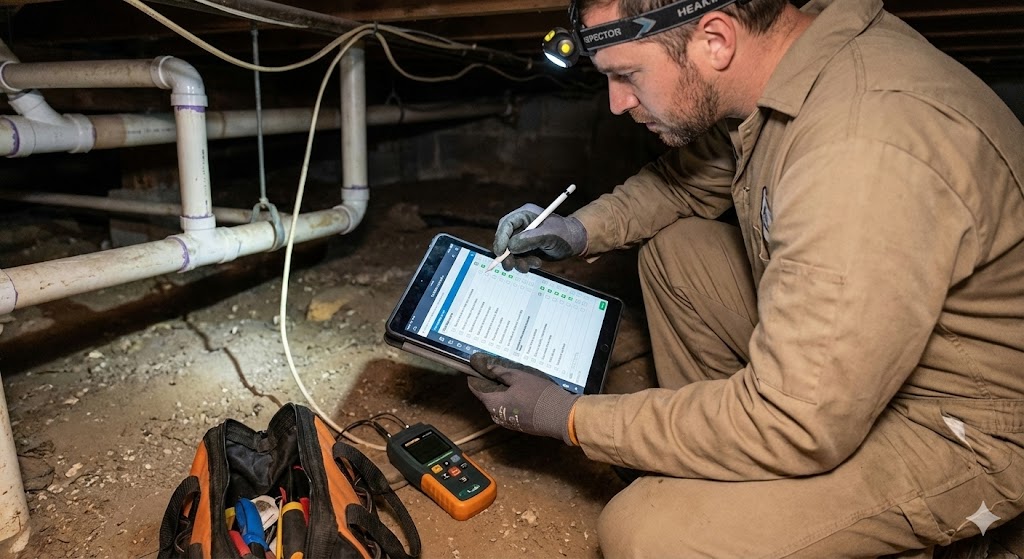
These are the areas where you generate revenue and where access issues are most common.
Checklist items:
1. Access and safety
2. Moisture and ventilation
3. Insulation basics
4. Visible framing and support
5. Pest clues
6. Limitations
If you want a simple rule, when photographing attics and crawl spaces, document the access point, whether you entered or not. It helps your limitation notes later.
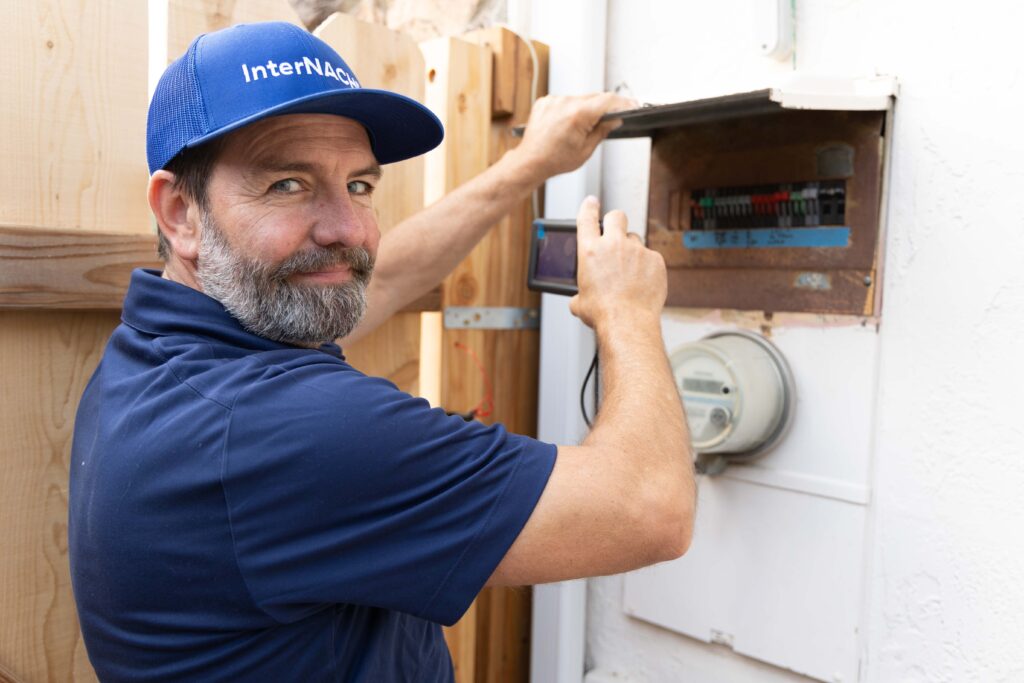
This is where your checklist protects you from getting in a rush and skipping something.
Checklist items:
1. Service and main equipment observations
2. Panel observations
3. Representative receptacle testing approach
4. GFCI and AFCI presence where expected
5. Smoke and CO alarms are present if within scope
Keep your language tight. Report what you observed, why it matters, and what you recommend next.
Most plumbing issues you encounter are simple, visible, and expensive if left unaddressed. So you look for clues.
Checklist items:
If you include the water heater, remember that many standards emphasize the need for readily accessible components. You are not dismantling vent connectors or disassembling equipment.
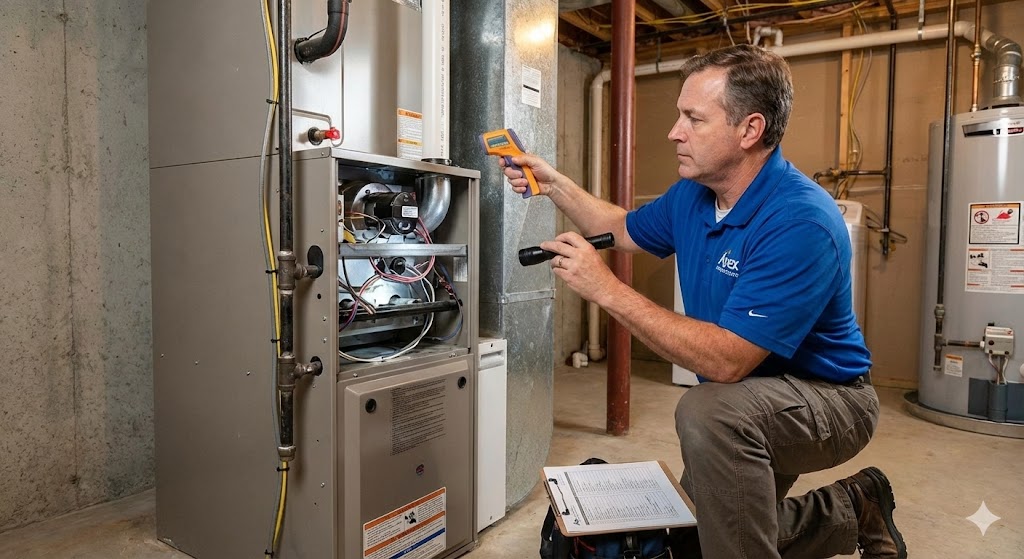
Set a firm scope on HVAC work, such as these essentials.
Checklist items:
If something feels outside your scope, you still document the concern and recommend the right next step.
This section keeps your checklist from becoming a pile of boxes.
Photo documentation is especially helpful for roofs, decks, electrical panels, and moisture staining. For all photos, make sure you get adequate coverage with three separate shots:
Strong inspection notes are built on three things:
For example:
Observed: “Active drip noted at supply valve under kitchen sink.”
Why it matters: “Moisture can damage cabinet materials and promote microbial growth.”
Recommendation: “Repair leak, then verify no further moisture issues.”
When you find problems, it’s important to discuss them in a neutral, objective manner. Here are some terms that you should use across reports to maintain consistency:
Using these terms not only makes your report easier to read but also makes you look more professional.
Every inspection should include a limitations section. Here’s what to include:
Before finishing your report and sending it on, ask yourself these questions to check its quality:
If you want another way to think about it, imagine the client forwarding your report to a contractor who has never met you. Would that person understand what to do next without calling you five times?
That is the goal.
Also, content from the National Home Inspector Examination is often framed to reinforce this idea: inspection, analysis, and reporting, along with professional responsibilities. In other words, reporting is not an afterthought; it is part of competent practice.
This approach also helps if you run a multi-inspector team. Everyone follows the same core process, then adds the right modules for the job.
If you are part of a franchise or network that provides templates and reporting workflows, they can make standardization easier by reducing the need to build every checklist from scratch.
A checklist is not about being perfect. It is about consistently delivering the same high level of work.
If you are building your checklist and systems on your own, it is worth noting that franchise models include a proven operating playbook. WIN Home Inspection is one example: with more than 30 years in the industry and support that can take a lot of the training, marketing, and day-to-day back-office off your plate so that you can stay focused on inspections and growth. For more information on starting a home inspection franchise, schedule a free consultation today.